.
If you have any comments, observations, or questions about what you read here, remember you can always Contact Me
All content included on this site such as text, graphics and images is protected by U.S and international copyright law.
The compilation of all content on this site is the exclusive property of the site copyright holder.
I have a greenhouse. Ordered from Charley's Greenhouse and Garden lo these many years ago. It's a lean-to, 8 feet by 18 feet, glass to ground with a twinwall roof. In winter I merely have to open a few doors - from hallway outside kitchen into laundry room to the garage and into greenhouse - and walk into a space where plants are green and growing. I want flowers, so my focus is on winter blooming bulbs such as cyclamen, freesia, nerine, lachenalia and more. They prefer cool temperatures so the thermostat is set to 50 degrees Fahrenheit. But . . .
You knew there would be a "but," didn't you. Two, actually. Temperatures right next to the glass can drop sufficiently to damage leaves that touch the glass when it is really cold outside and the wind is blowing. Nearly ten years ago, early in October 2007, I put up bubble wrap for insulation. Easily installed, it reduces heat loss and diffuses sunlight. And after close to a decade (which is pretty good when you think about it) the bubble wrap has degraded, especially where the sunlight is more intense at the south west end. Time to replace it.
So I ordered two rolls bubble wrap, each 24 inches by 40 feet, one roll double sided sticky tape 1/2 inch by 108 feet, and - just from curiosity - one pak of insulation line clips, 30 per pak
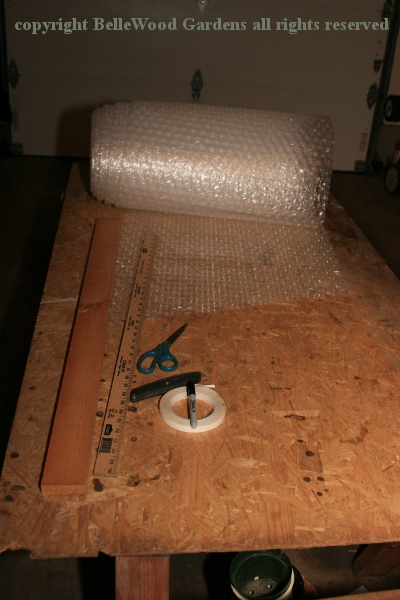
Parked my car outdoors and set up a work station
with couple of saw horses and a sheet of strand board.
Yardstick, matt knife, scissors, marker, straight edge.
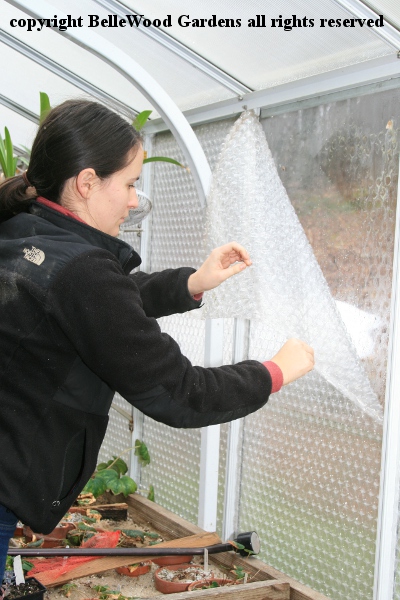
Let me introduce you to Michelle, my day tripping WWOOFer.
WWOOFing brings people to farms and gardens where they
provide help in return for the learning experience. Wet weather
meant we couldn't work outside so re-insulating the greenhouse
was the way to go. Here Michelle is stripping off old bubble wrap.

The old bubble wrap has bubbles that have lost their integrity
and flattened out. See the difference compared to the new stuff.

The difficult part is accessing the areas under the benches.
It goes like this: remove old bubble wrap, some of which flakes apart and looks like fish scales. Remove old double sided sticky tape. Clean glass. Measure twice, cut once for new bubble wrap. The two rolls of bubble wrap were just exactly sufficient for my greenhouse as it is configured. I had to piece one small rectangle between the exhaust fan and the garage wall. Ample sticky tape. Did not use any of the insulation clips. They would only serve if I ran the bubble wrap horizontally so it covers the aluminum channel members that hold the glass.
The long wall was easy as all units are 2 feet wide by 5.5 feet high. The end walls have complications, not merely because they are higher and are angled at the top. Space occupied by heater and an exhaust fan at one end, two louver vent units on other end. Plus there is one section on that wall which is not covered in bubble wrap. Instead it has a night curtain. Drawn open in daytime, it allows me to gaze into the greenhouse from the kitchen.
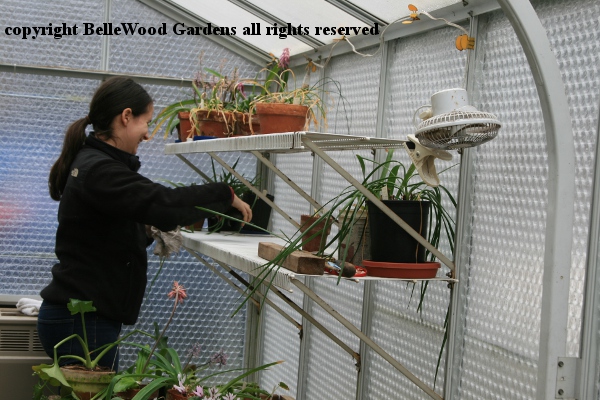
We finished by wiping down the shelves, removing a year's worth of grime.
Soon enough I'll be starting some seeds as my bulbs go summer dormant.
Two rainy days, good help and pleasant conversation and it's accomplished.
Insulating the greenhouse. Next up, the annual installation of shade cloth.
Back to Top
Back to March 2017
Back to the main Diary Page
.